I have seen plenty of people have issues connecting to game servers and there are a few methods that might get you up and running. The following steps all assume the target server is online and all ports open and listening correctly etc. Also, the in game server browser should be your first call, these methods should be used if that doesn’t work.
Steam Favourites
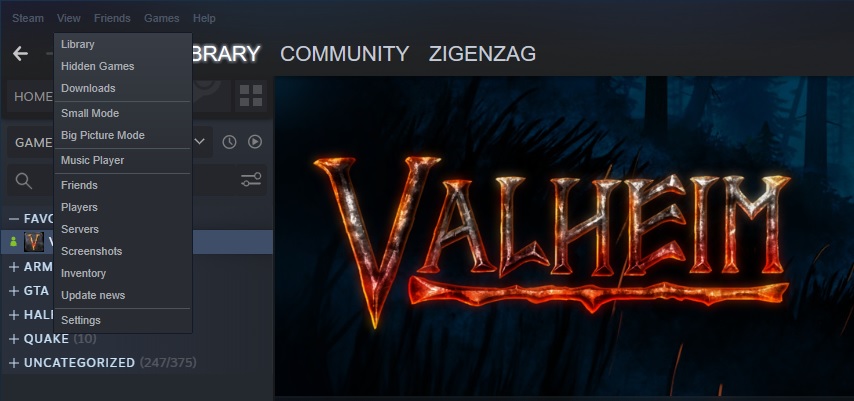
Open Steam. In the top left of the window, go to View and click servers.
Then click the favourites tab and click add a server at the bottom right. Fill the IP address and port of the server in with the IP:PORT of the server you wish to connect to, and add the add this address to favourites button. Its very important to point out, that the port isn’t the game port, but the steam query port. This is the port above the game port. In a default setup where the game is on 2456, the port would be 2457.
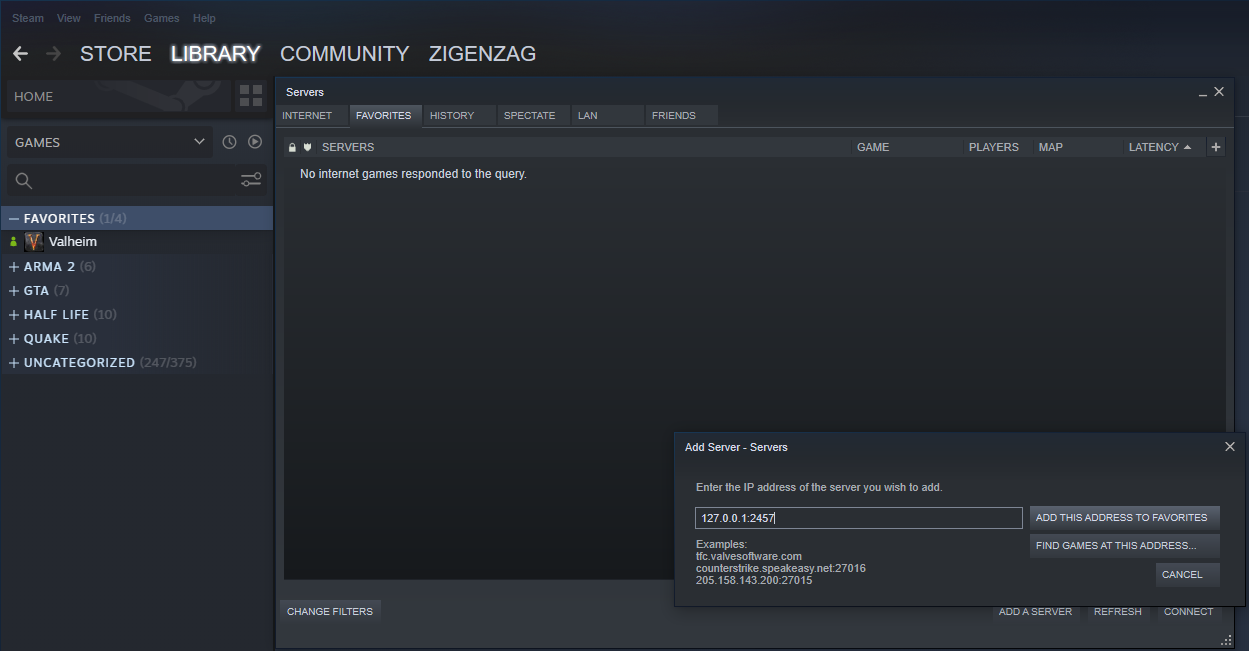
You should then be able to click connect with the button at the bottom right when you select your server.
Steam Launch Options
The other solution is to use the launch options in Steam to load the game to the server directly. You can access this by right clicking the game in the sidebar, and going to properties. In the general section at the very bottom, you will see the launch options section. The command to enter into here is: +connect IP:PORT
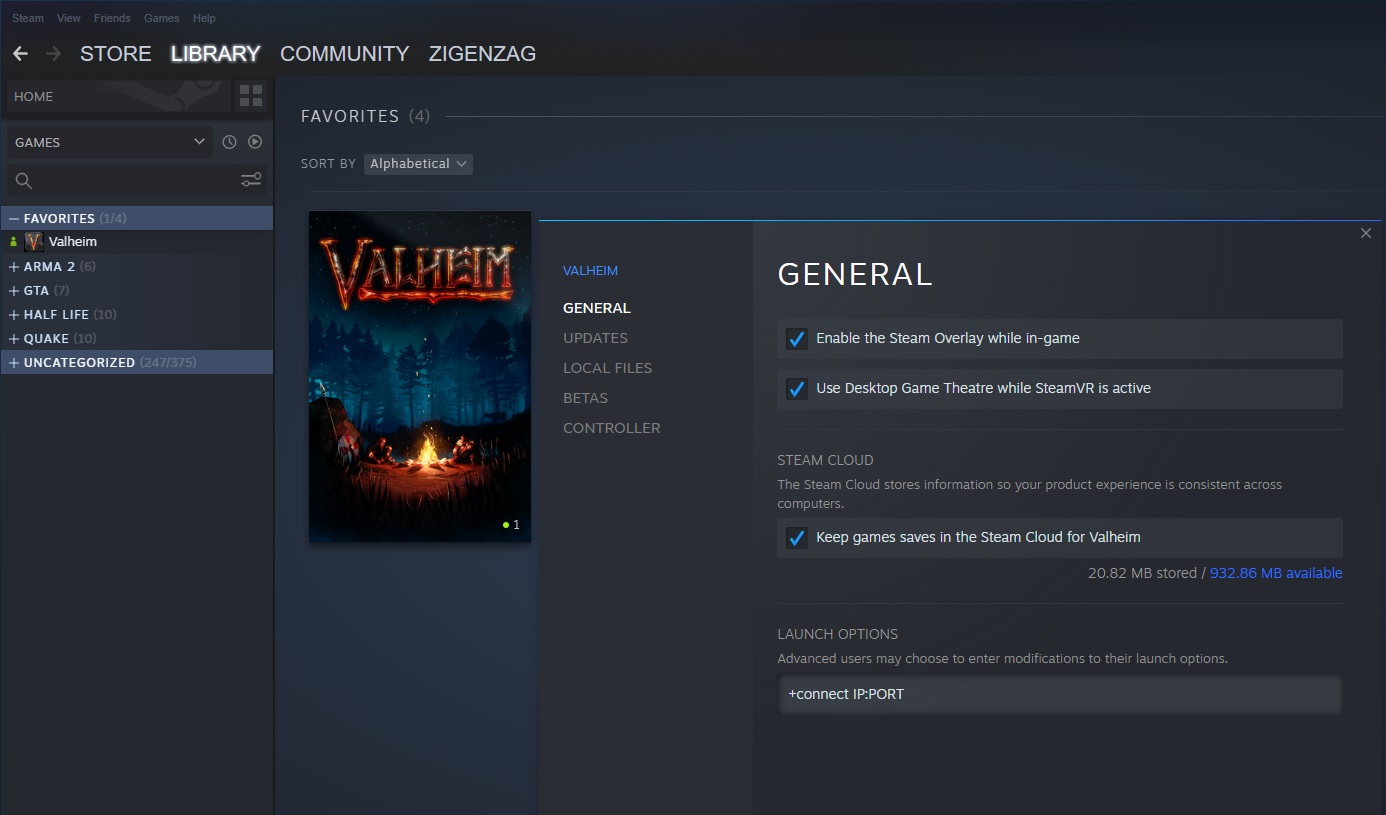
Once you have added the command and closed the properties window, you should be able to start the game normally through Steam. Once you have selected your character, it should log you in.
Joining Your Steam Friends
It is also possible to connect to the server by joining a friend who is already in the game, though this is not always successful. I haven’t done this one but it should be straight forwards to do. Open the Steam overlay (typically shift + tab), find the friend you want to join in your friends list and join there game. You may have to have already selected a character for this to work.